Introducing the best futuristic programming language to learn in 2025
If you want to start programming language recently, we will introduce you three of the best.
One of the common errors after installing Android Studio is appcompat-v7 error. This error is due to the banning of Iranian
One of the common errors after installing Android Studio is the appcompat-v7 error. This error occurs due to the banning of Iran IPs and as a result of not receiving the file through Android Studio for users who launch their project from Iran. If you encounter the following errors after launching the project in Android Studio, follow this tutorial to the end. Failed to resolve: com.android.support:appcompat-v7:28.0.0 Failed to resolve: com.android.support.test:runner:1.0.2 Failed to resolve: com.android.support.test.espresso :espresso-core:3.0.2 It should be noted that you may have used IP change software to launch the Android Studio project and you have encountered this error again. It should be noted that the use of IP changing software is used in some layers of the program and it can receive information by changing the IP in the software, but in higher layers this sensitivity is more and more settings are required. In this tutorial, we are trying to fully teach how to fix the error.
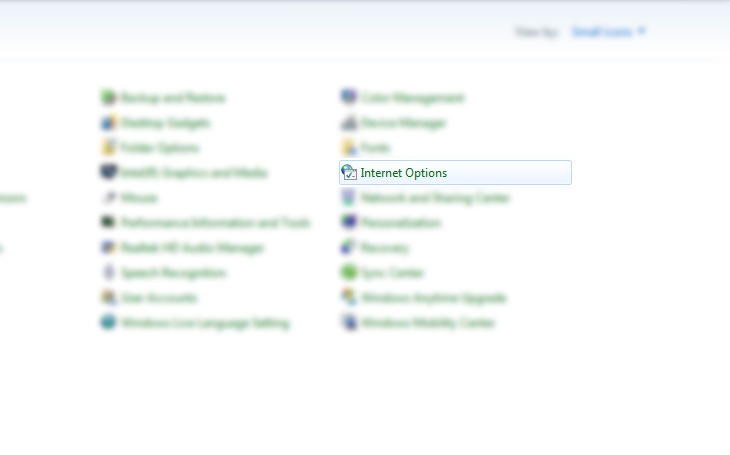
In order to fix the appcompat-v7 error, you first need the IP change software, which can be obtained in different ways. This training is based on the IP sign change software and it means that we assume that you have run this software on your Windows operating system. After running the software, it is necessary to make several settings in different parts, which we will explain in full and graphical form below. To start, click on Start or the Windows logo and select Control Panel as shown in the picture. 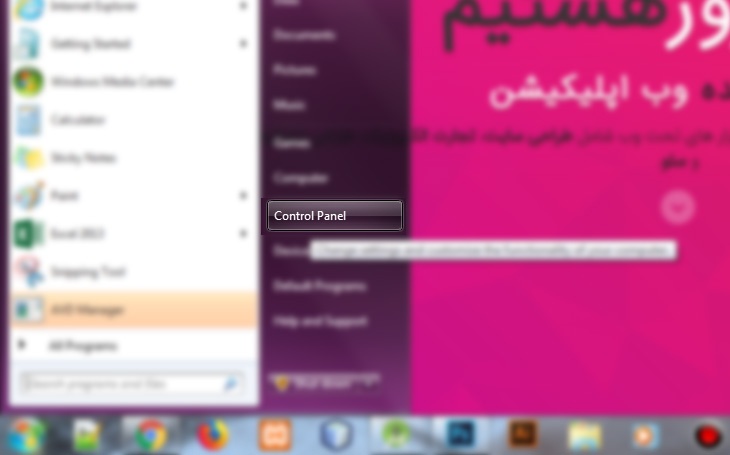 After entering the Control Panel section, click on Internet option.
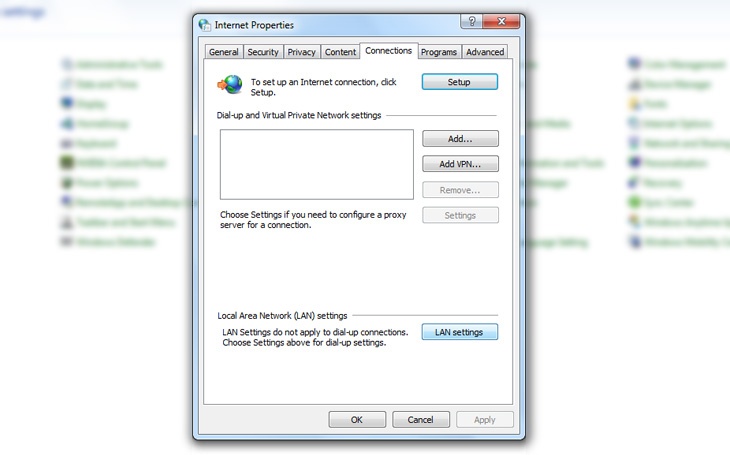
  On the opened page, select the Connections tab and click on the LAN settings button.
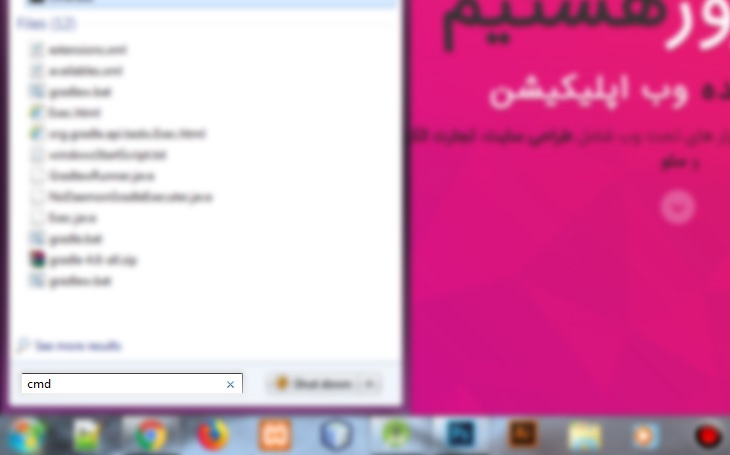
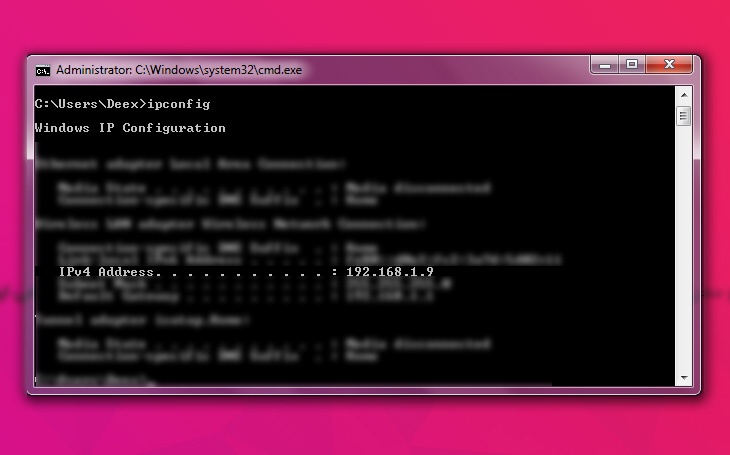
  Then close the windows and go to Start or the same Go to the Windows logo and enter the word cmd in the search field according to the image below and click on cmd.exe.
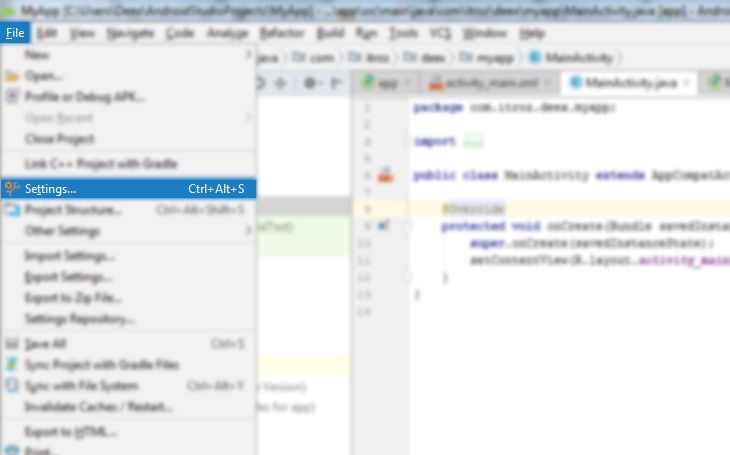
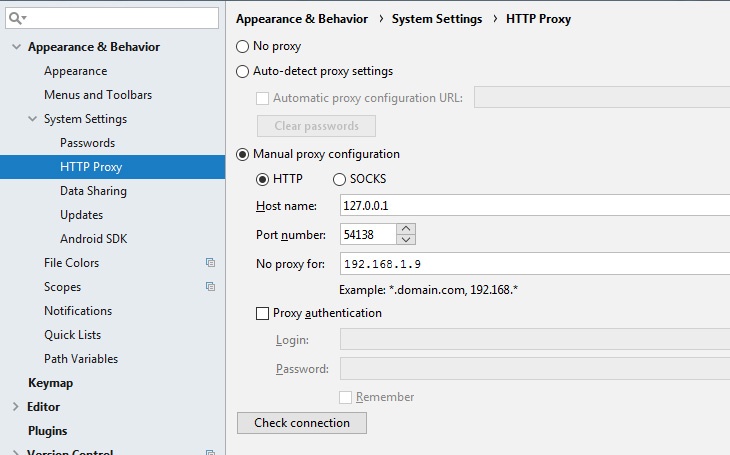
  Now it is necessary to go to the Android Studio software, select the File menu and click on Settings. < img alt="Now you need to go to the Android Studio software and select the File menu." class="alignnone size-full wp-image-2249" src="https://itroz.com/blog /wp-content/uploads/2018/10/failed-to-resolve-appcompat-v7-7.jpg" style="height:455px; width:730px" title="Now it is necessary to go to the Android Studio software, select the File menu and click on Settings." /> From the Appearance & Behavior section, click on HTTP Proxy and select Manual proxy configuration. then select HTTP and enter them according to the written information. Click Behavior on HTTP Proxy and select Manual proxy configuration. Then select HTTP and enter them according to the noted information." class="alignnone size-full wp-image-2250" src="https://itroz.com/uploads/blog/wp-content/2018/ 10/failed-to-resolve-appcompat-v7-8.jpg" style="height:455px; width:730px" title="From Appearance & Click Behavior on HTTP Proxy and select Manual proxy configuration. Then select HTTP and enter them according to the noted information." Finally, you can click on Check connection to test the correct operation and enter the address of the YouTube site, if the result is successful, click on Ok and close and restart the program and sync the project again
 Now it is necessary to go to the Android Studio software and select the File menu and click on Settings.
  from the Appearance & Click Behavior on HTTP Proxy and select Manual proxy configuration. Then select HTTP and enter them according to the noted information.
 Now it is necessary to go to the Android Studio software and select the File menu and click on Settings.
  from the Appearance & Click Behavior on HTTP Proxy and select Manual proxy configuration. Then select HTTP and enter them according to the noted information.
  Finally, you can click on Check connection to test the correct operation and enter the address of the YouTube site. If the result is successful, click on Ok and close and restart the program once and sync the project again. do.
From the Appearance & Behavior section, click on HTTP Proxy and select Manual proxy configuration. Then select HTTP and enter them according to the noted information.  From the Appearance & Behavior section, click on HTTP Proxy and select Manual proxy configuration. Then select HTTP and enter them according to the noted information.
  source » itroz Academy

What is GPT Chat and how can I use it? Is it free or paid?

Market analysis in digital marketing, customer identification and marketing strategies to attract target audiences.

SWOT strategy is used to identify and analyze the strengths, weaknesses, opportunities and threats of a business or project.

Examining the most important points for designing an online business strategy includes the things we will address.
Comments (0)